
A very quick way to create concentric arcs.
1. Create a new document in Photoshop.
2. Create a new transparent Layer (Layer > New > Layer...).
3. Add horizontal and vertical guides to indicate the centre. (View > New Guide... - do this twice, once for Horizontal and once for Vertical):
4. Press D for default colours. Pick the Ellipse tool.
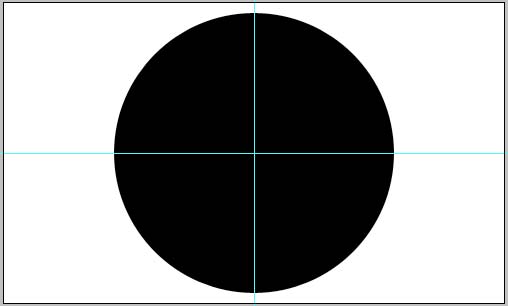
5. Place the tool's crosshair on the centre, formed by the intersection of the guides. Click then press Shift+Alt and drag outwards from the centre to create a black circle:
6. Invert the default colours, then repeat step 5, drawing a white circle inside the black one:

7. Press D again for default colours. Repeat step 5 to create another black circle inside the white one.
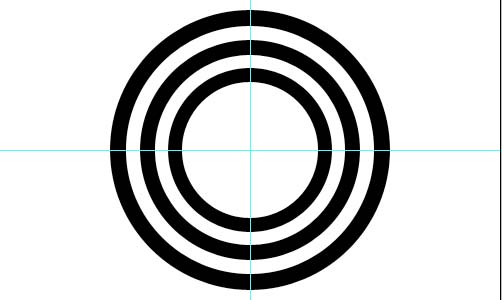
8. Keep doing this until you have the required number of concentric black rings:
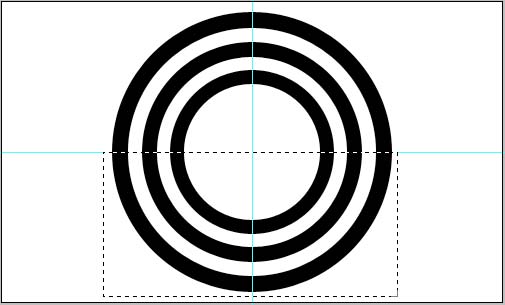
9. Pick the Rectangular Marquee tool. Select the bottom half of the black rings (use the horizontal guide for positioning):
10. Press Delete.
11. Deselect (Select > Deselect) and Clear guides (View > Clear guides). You will be left with a series of concentric black arcs:

At step 9, you could always use a different selection tool to remove more or less of the circles to give you different variations:


You might also want to save your finished arcs as a custom Shape in case you want to use them for other things.